What is Tapping?
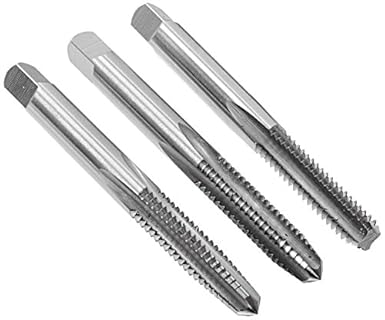
If you are not familiar with a tap or tapping, let me give some explanation: a tap is a tool for cutting threads into a hard material, usually metal.
Hand tapping involves putting the tap into a tap wrench:

You drill a hole just slightly larger than the threaded hole's smallest diameter (from inside thread to its opposite), put the tap into the hole, and slowly turn it clockwise (unless you are making a left hand threaded hole with a lefthanded tap). You turn it slowly, with some tapping oil, because taps are very brittle. This is because to make steel very hard, and thus appropriate for cutting holes, you treat it so it becomes both hard and brittle. (This is a crystal structure issue that I don't want to try and explain.)
Hand tapping is slow and anyone who has done it for long has broken a few taps. Removing the part of the broken tap still in the workpiece is often too hard to justify the effort, unless it is a Porsche engine block. Another problem with hand tapping is that it is very hard to get a threaded hole exactly perpendicular to the surface. (Make it a round surface as I have done in the past, and it seems impossible.)
A way to solve the perpendicular problem is put the tap in the chuck of a drill press, lower the handle, and turn the chuck by hand. This gives nice perpendicular holes and usually does not break taps. Why not just turn on the drill press? Drill presses turn one direction; going down at a low speed will tap threads. When you release the handle it comes back and either removes the threads, and/or breaks the tap. There are tapping drill presses with a reverse switch but these are expensive.
If you need to tap holes in a production setting, hand tapping, even in a drill press, makes no sense.
Tapmatic's Solution
Tapmatic is an Idaho company that invented a gadget that goes into the chuck of your drill. You set the drill press speed so low that you will wonder why 200 rpm exists. It is for turning enormous drills, like a 1 3/4" diameter monster that I used to use as the first step before boring a hole to an exact size in acetal on the lathe. Thre, you want torque not speed.
The tap goes into the bottom of the Tapmatic.
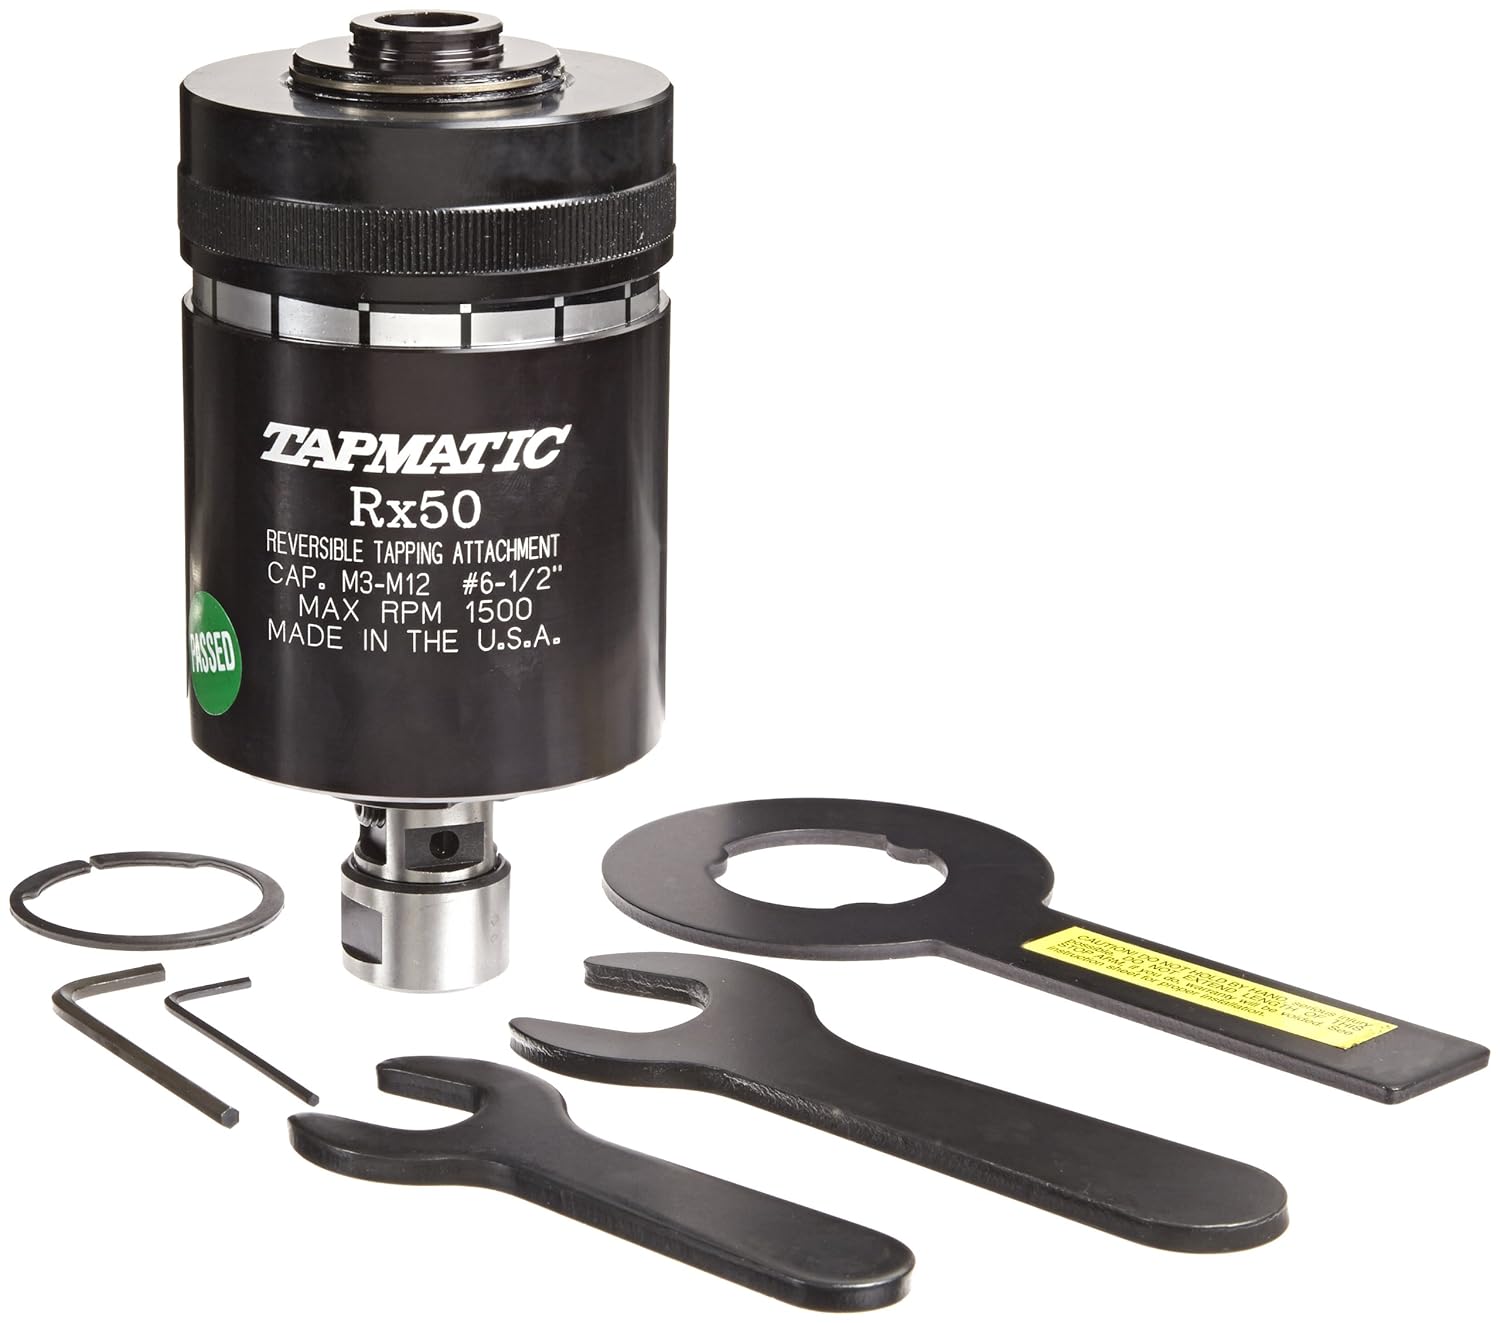
Turn on the drill press, and down you go. Once the threads on the tap start cutting into the material, it starts to turn itself down. When you are as deep as you want, you release the handle. When the Tapmatic figures out you want to go up, it reverses direction of the tap and backs it out of the now threaded hole. (Full screen the video.)
It may not be real obvious in this video what is happening, but the tap is threading the hole going down, eventually pulling the Tapmatic down with it as the threads on the tap engage the threads in the hole. Then when I release the handle, it reverses direction. I am making two passes here because it seems to give superior fit to the bolt when I insert it later. That may be the result of the tap I am using; there are standards for how close a fit a tap will produce. (I may need a different closeness standard.)
Like all labor-saving devices, do not expect to open the box and be mass producing threaded holes in the first five minutes. I struggled at first to get that long extension arm in place. This arm has to run into a stop, a piece of metal that needs to attach to the drill press, either on the drill press vise, the table, or the frame of the press. In my case, I drilled a couple holes in the cast iron drill press vise. Note, 1/4" aluminum will get bent pretty quickly under impact. (That's why hand or arm is not going to substitute for the stop.) I am currently using a 1/2" thick piece of steel rod for my stop. Think carefully how you are going to attach this before you get started.
There is a torque adjustment that is specific to tap size, material type, and drill press speed. There is no magic formula for this. You learn by trying. The Rx50 comes with a 1/2" straight arbor that fits in my 5/8" drill press chuck. The shank is a Morse taper where it goes into the head, allowing you to fit it to many different devices.
I have discovered that acetal, in spite of being much softer than aluminum, is hard to tap because it produces big gummy strings. My fix was to go up one drill size from what the tap chart suggests for tapping plastic. Now the Tapmatic works quickly and easily for tapping 1/2"-13 holes in acetal.
1/4"-20 in aluminum is a breeze. To my surprise, 1/4"-20 in cold rolled steel was only a little harder. You are supposed to chamfer the hole before tapping; this makes it easier for the tap to find its way to the center. (The tap is in a rubber collet that tolerates a small amount of error.) My experience so far is that if the tap has a sharp end (unlike a bottoming tap, which has a flat bottom) and you are pretty well located in the hole, the chamfer is not really required. (That is what happened in the video above.) If you are not perfectly centered, the first few turns of the tap will create a lazy man's chamfer, release the handle and try again. By the third try. everything will tap just fine. (Someone at Tapmatic is probably crying as they read this.)
I am using spiral flute taps so far and they do a wonderful job of evacuating material from the hole as they go down. The straight flute taps you will find in your DIY store's basic tap kit really don't work so well. I have really enjoyed using drill-and-tap combos that have the right diameter drill at the front, then the tap afterwards. Unfortunately, they seem to break a bit too easily and they aren't long enough for me to drill and tap both sides of these aluminum sleeves at the same time. But the Tapmatic makes the extra time spent tapping not so bad.
To buy a Tapmatic. Depending on the size of taps you will use, you need to buy a collet to fit it.
Pre- and post-sales support has been wonderful.
I had a tapping head and sold it on eBay (for next to nothing) because I had never used it. (Picked it up in the proverbial hot deal, so didn't have much in it)
ReplyDeleteMy favorite tap is "spiral point", which pushes the swarf ahead of the tap. Also called a "gun tap" for that reason. Almost all my tapping is done in the Bridgeport mill, under power; alignment is always "perfect" because that's where I drilled the hole. Very small taps and blind holes call for turning the chuck by hand, of course. Taps like 2-56 and smaller are mounted in a pin vise, spun by hand, but chucked loosely to hold alignment.
A tapping head is great if you have MANY holes to tap, but my operations aren't like that.
Two tips: a spring-loaded tapping guide can be handy in either the drill press or the lathe, and a combination tap/drill index is also very nice. You can get an empty index (Huot) if you already have the drills and taps.
I see that Amazon is looking for someone to write the first review on that tool. You have pretty much done that here on your blog.
ReplyDeleteIf you are needing to make two passes, you may be using the wrong drill bit, or the wrong style/type of tap. The tap may be undersize, itself. One of them could be worn beyond spec. Sometimes changing the alloy/temper of the material can call for a dimensional tool change. Also, doing it dry, versus lubed, can cause some problems.
The minor details can sometimes be key to getting it right. (this is where most people screw things up, because most people are not detail oriented, so they can't see what is happening)
Most taps cut thread, removing material
ReplyDeleteThere are also taps that roll the thread displacing but not removing metal
I thought the hole size was actually just slightly OVER the minimum thread diameter. You want to be cutting the threads, not the hole.
ReplyDeleteMauser: Yes, fixed it. Thanks.
ReplyDelete